Showing posts with label craft. Show all posts

Friday, October 14, 2011

Getting ready for Halloween :)

I am getting more and more excited about Halloween.
When I am driving, I can see many spooky house decorations all around the town.
That makes me more and more excited.

Here are some stuff I put up on my Etsy shop related to Halloween.


Skeleton Brooch


Jack-O-Lantern Brooch


A Bat Necklace


A Bow Tie Necklace


All of those products are made of 100% wool. I used special needle to make soft wool into solid felt.
They are still very soft and compare to the regular felt, they are three-dimensional.
Needle felted products will give you cozy and warm feeling especially fall/winter season.

I am going to create some more stuff for upcoming season for sure!
It would be very nice of you if you can keep checking my products at here or on Etsy.

Have a great weekend, everyone!

Thursday, September 22, 2011

New products on my Etsy shop

Today I am so happy that I could spend several hours to make new products for my Etsy shop!
Here's the new products!

 Needle Felted An Orange Flower Brooch

 Needle Felted Brooch A Blue Flower


 Needle Felted Brooch A Lavender color Flower
All of those flowers are made of 100% wool.
They are soft yet solid and give you warm, cozy feeling.
It fits the fall / winter season for sure :)

Besides, those flower brooches, I also made a brooch for upcoming fun event; Halloween!!!!!
I love Halloween! It is one of my favorite event!!!
And here's the finishing product.

Needle Felted Brooch Jack-O-Lantern

I am going to make more Halloween related jewelry / accessories to celebrate it.
If you are one of the Halloween lover, please stay in tune on this blog ;)

Tuesday, September 20, 2011

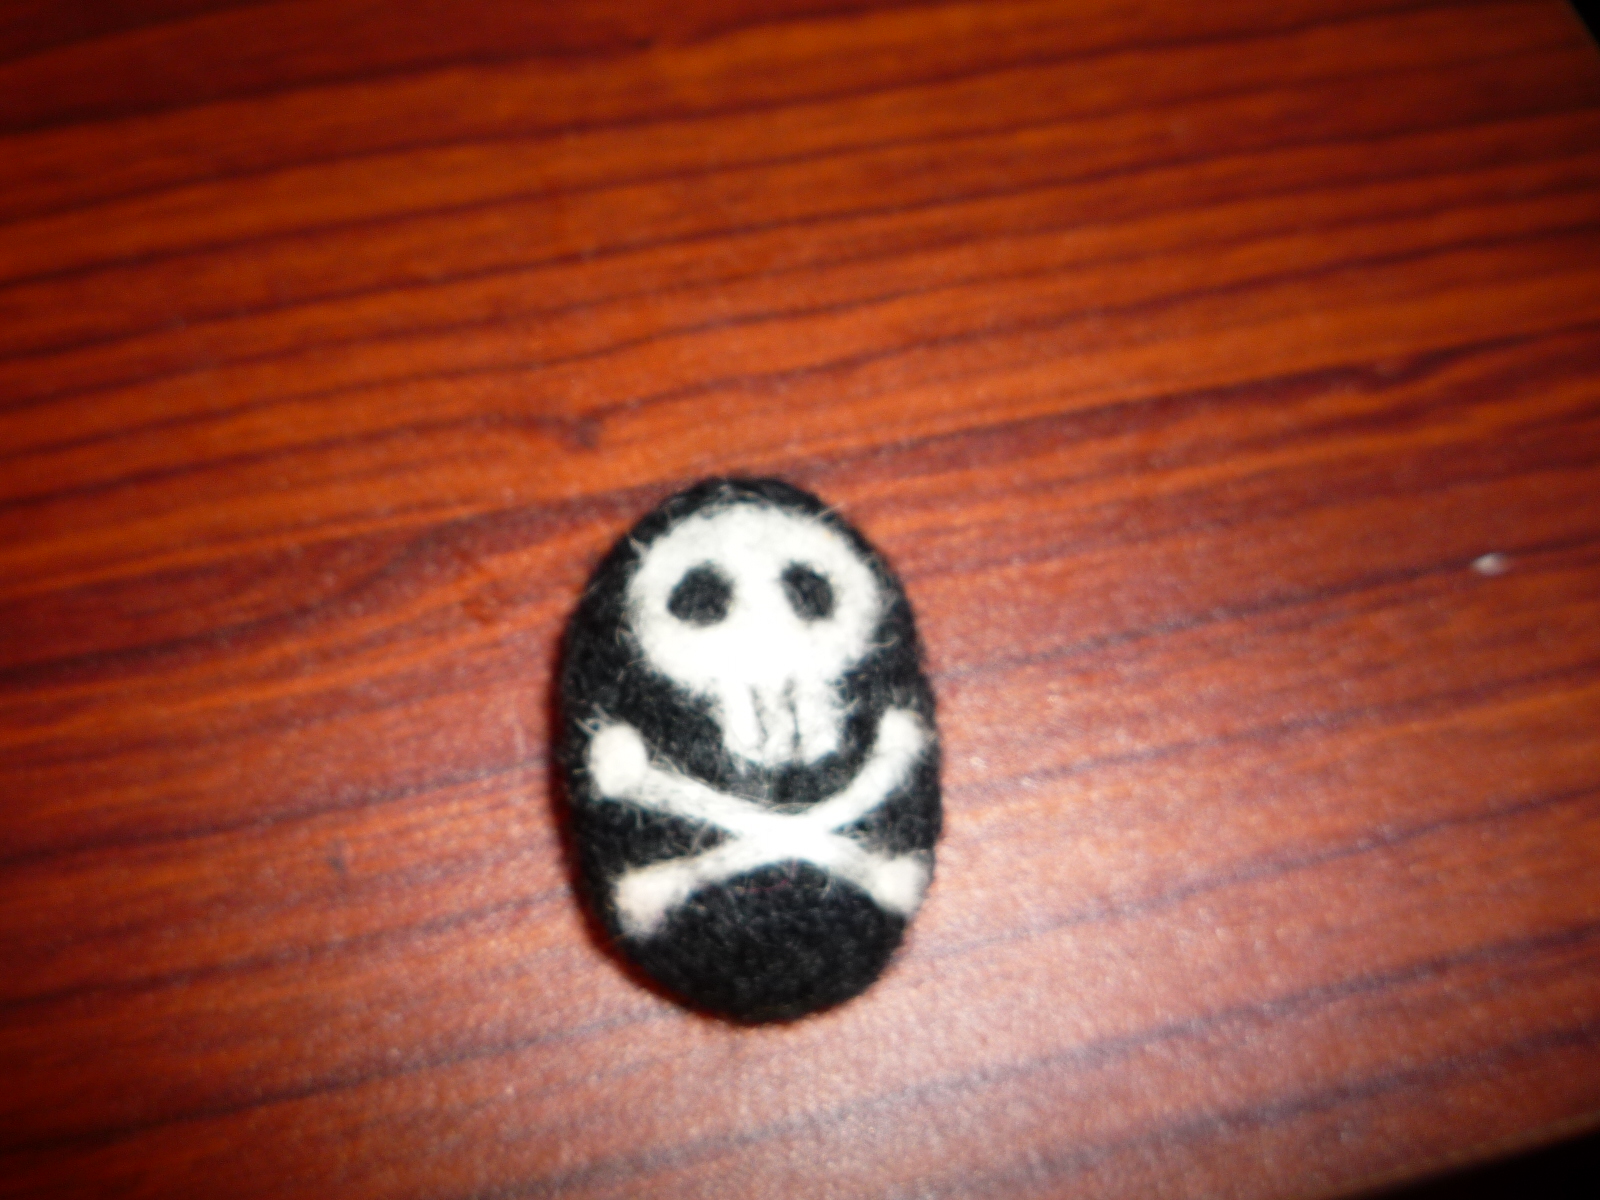
Needle Felted Brooch: Skeleton

Wow, it's already September!!!!!
I was quite busy past few months and there's no time & energy for writing my blog nor adding new stuff on Etsy.
Finally today I add a new product of mine on my Etsy shop! Hooray!

Needle Felted Brooch:Skeleton
Actually I originally made this for celebrating the opening of "Pirates of Caribbean" 4.(http://hirokohandmade.blogspot.com/2011/05/pirates-of-caribbean-is-back.html)
I tried to finish this as a brooch and wear it for the movie, however I didn't have enough time to finish it.
In the end, I've never wore it and it stayed in my unfinished project box.

Now I realize that it is good time to finish it because HALLOWEEN IS COMING!!!!!!
And here it is! The finishing product of skeleton brooch!!!!

You can put it on your scarf, or


You can put it on your cool hat. Wherever you like :)

I am going to switch my gear from "Summer vacation mode" to "Going back to my regular life".
That means more handmade stuff are coming up here and my Etsy shop!!!! (I hope...)

Tuesday, May 31, 2011

Transform: Summer dress–> Apron

Do you have any particular shop you like to shop at?
I have a bunch. And ANTHROPOLOGIE is one of my favorites.
Their designs are so unique and pretty. Every time I go into their shop, I easily spend an hour or two to check all of their merchandise.
Of course I love their clothes, but I also adore their aprons.
You can see their great designs of their aprons if you click here –> http://www.anthropologie.com/anthro/catalog/category.jsp?popId=&navAction=push&isSortBy=true&navCount=264&pushId=&id=HOME-KITCHEN-APRONS
It is very inspiring and would be fun to cook, wearing it.

Today I was cleaning the clutter out of my closet, and found a summer dress which has several holes. I guess I washed it in the washing machine many times, and it got holes.
That gave me an idea: “Why don’t I transform this dress into an apron?”
And here’s how it looks.
P1040523
The bottom part was a summer dress originally.
I added the top on it with some vintage lace.
P1040514
I wish I could have better matching fabric for the bottom… but this bird printed fabric was all I had that was close to the color of the bottom.

Tonight I started to cook, wearing this, and somehow it made me more motivated for cooking. Maybe my husband will be happier than I, because of this apron スマイル

Monday, May 30, 2011

Transform: T-shirts

Last week, I purchased something I've wanted for quite a long time.
That is a MANNEQUIN!!!!
Well, actually I wanted a dress form to do some sewing, but I found a second-hand mannequin of my size, so I thought, "Why not?"
To celebrate it, I transformed a T-shirt as follows:

BEFORE
P1040409

AFTER
P1040488
You may remember this T-shirt from “Tutorial: stencil on T-shirts”(http://hirokohandmade.blogspot.com/2011/05/tutorial-stencil-on-t-shirts.html),originally it was a plain, pale pink T-shirt.
I stenciled some birds with white paint on it about 2 weeks ago.
P1040419
And today I cut out around the neck wider and attached a motif of a feather. Cutting wider around the neck is not easy to do on the table. Definitely having my mannequin helped me cut it out evenly, nice and round.
P1040499

Now it’s my turn to wear it!
P1040506
What do you think? Does it look good on me!?

Thursday, May 19, 2011

Pirates of the Caribbean is back!!!!

Tomorrow Jack Sparrow will back on the screen!!!
Yes!!! "Pirates of the Caribbean : On Stranger Tides" will be released tomorrow, 5/20 (Fri)!!!
I love this movie series, even though I have a hard time understanding what they're talking about... Ha ha.
Is it just only me!?

To celebrate this movie's release, I made a skeleton with wool:

Needle felted Skeleton

I am going to make a brooch with this, and wear when I go to see the movie :)
Not only a brooch for me, but I'll make one for my husband, too!!!! I hope he doesn't mind to wear it with me to share the excitement! (Pirate voice:) "Arrrrrrrrrrr!!!!!"


And next weekend, another movie that I am interested in will be released!!!
That is.... "Hangover 2"!!!!!
Should I make a needle felted beer bottle next time!?

Thursday, May 12, 2011

Tutorial: Stencil on T-shirts

It’s getting warm and good season for T-shirts!!!
Have you ever thought “I want to have an original T-shirt!” or “I can’t find the T-shirt I really like!”?
Then why don’t you make one!

Here’s the easy way to create your original T-shirts.

1.Pick the T-shirts you like.
P1040407

2.Draw whatever you want to stencil on the mat side of the freezer paper.
P1040410
This time I draw some birds on it.
P1040411

3. Cut it out.
P1040412

4. Put the freezer paper to make glossy side attached on the T-shirts and press the iron from the mat side of the freezer paper.
P1040413

5. Stencil must be attached by the heat of the iron like a following photo. You can put a cardboard in the T-shirts to prevent paint going through to the back of the T-shirts.
P1040414
6. Apply the paint. Use ink for fablic.
P1040416P1040417
7. DONE! When the ink is dried, you can take off the freezer paper. Enjoy your original T-shirt! (Before you wear it, I recommend to wash it one time to make paint stayed on it)
P1040419

Tuesday, May 10, 2011

Report: Unique LA

Two days ago, on 5/8(Sun), my husband and I went to Unique LA (http://uniquela.com/).
Unique LA is the art & craft show gathers local artists here in LA.
It was really nice to see the one-of-a-kind clothes, jewelries, and artworks, etc.

To enter this event, you need to buy a $10 admission ticket.
But the cool thing is you can get a free tote bag which is designed by a local artist when you entered!

 There were many things to see!!!!! I was too busy to look around and forgot to take some photos for this blog... At least I took one photo :)


Next Unique LA will be held sometime in December according to one of the vendor.
I hope I can be a vendor next time :)

Thursday, May 5, 2011

New cushion on our couch

The other day I purchased such a gorgeous fabric.
I loved the color, texture, and design.
And I decided to make a cushion out of it.

Here is the finishing product.

It took me about 1 hour and 30min. It was fun and very refreshing to add a new cushion on our couch!

Besides the cushion, I also finished one crochet scarf and added it on my Etsy shop.


It would be perfect for the chilly spring/summer day. Please check it out ;)

Thursday, April 28, 2011

Bluebirds and blackbird

Today I worked on my craft from 8:30am to 4:30 (30min. lunch break between)... Wow, that's quite long!
And I finished 10 of needle felted brooches!!!!


9 of them have a motif of blue birds and one has a flower motif.
All of them are different from each other.
They are similar but the beads, color of flower, lace, etc, are little by little different each other :)
That's the beauty of the handmade! Always each of them are one-of-a-kind and just only unique one is existing in this world.

I will put them on my Etsy shop (http://www.etsy.com/shop/HirokoDT) one by one. If you are interested in, please check it out.
Price range is between $6.50-$9.

When it comes to the bird, here is my favorite song related to a bird.

Blackbird by The Beatles

 And here is the rare video that Paul is getting ready for the recording of the song.


What a beautiful song!!!! I really love it!!!

Friday, April 22, 2011

Music of the day "Be OK"

These days I am listening to the music through "Pandora."
I just loooooove their service!
And one song just stays on my mind...

"Be OK" by Ingrid Michaelson


This is such a simple melody/instrumentation/lyrics/video, yet it has such a strong statement to me.
Whenever I listen to this song, I think of people having a hard time... people like those who lost everything from the earthquake or tsunami in Japan, by hurricane in the U.S., or some other tragic event.

Each one of those people want to see a hopeful, bright future... But it's not that easy under those circumstances, I think.

In that case, the others' support can help them to have some hope. Like, in her video, Ingrid gets helps from others to step outside of her shell (house). It is too much of a burden for only one person to help somebody, but if a group of people try to help (like the video), I think we can make a change.

While I was listening to the music through Pandora, I made one center piece for this necklace:
"A Red Riding Hood  and A Wolf"

A red riding hood and a wolf are surrounded by mint green vintage lace.
I am going to make this into a necklace.
Let's see how it turns out.

Wednesday, April 20, 2011

Unique LA

Have you ever heard about "Unique LA"?
Unique LA is an event that we can meet the LA local independent designers and artists.
This year, it will be held on May 7th and 8th at California Market Center’s Penthouse (110 E 9th St – Map It).

We can find the unique/original products from over 300 of the hand-selected best independent designers and artists. (<- you can click and check their name.)
You can check out what's in store, watch last show's video here!
Also you can see some photos from last year.
This year I will participate in as a customer but not as a vendor.
I don't establish my handmade brand that big enough yet, unfortunately...
Maybe, hopefully by next year... Let's see.

Anyways, this event must be fun! And too good to miss!!!

Sunday, April 10, 2011

Tutorial: A Felt Pouch

A week has passed from the last post… Wow, time flies really quick… I was spending more time for my daily job which is music and didn't do so much of crafting recently.
Because in a past few weeks, I was too busy for preparation of the fund raising event, and didn't do any music activity at all.... The event ended with success last week. Now, my daily normal life has come back and I go back to be a part time crafter once again.

The great news I would like to share with you is, I had another Etsy sales last Tuesday!!!
I will put together all the sales and donate to Red Cross in the near future, so please stay tune on my blog.

Whenever or whoever purchase whatever products of mine, I always put my products into my handmade felt pouches.
P1040044
It is like my version of gift wrapping to show my appreciation to the customers.
Today I would like to share how I make those.
It is very simple and very easy. Besides, it doesn’t take that long timeスマイル

First, cut felt whatever size of pouch you want to make.
This one is medium size for a brooch or necklace. It’s about 10.5(height)x4(width).
P1040028
Then, fold it from the bottom toward to a little bit higher than 1/3 way. In this photo’s case, I fold up to 4 inches high from the top.
And cut the top corners like a photo on the right.
P1040029P1040031

Saw the edges with sawing machine.
P1040033

Now, get ready to saw a button.
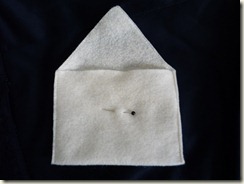
Fold it and figure out where you wanna put the button.
Once you find the best spot for it, move the marking pin like a photo on the right.
P1040034P1040035

It’s almost complete!!!!(Note: From this photos, I took them under the room light. That's why it doesn’t look in same color. However, they are same pouch as photos above.)
P1040039

Lastly you need to make a hole for the button.
Close the top and find the place where you need to open a hole.
P1040042

That’s it!!!! You can saw around the button hole to make it stronger. But it’s quite strong enough even without doing so.
P1040044

If you try it, please let me know how it goes. ウインク